
Marshall Ku / 구영표

2025 회고 및 서버 업데이트
어느덧 2025년도 다 지나가버렸습니다. 지난 1년을 돌아보며 간만에 글을 써 봅니다.

I use arch, btw
요즘 Arch Linux에 빠져 살고 있습니다

250930 장애 대응
오랜만에 블로그에 작업 하자마자 큰 장애를 만들어버렸습니다

Plasmo 개발 환경에서 Next.js 앱 망가뜨리는 문제 해결하기
Plasmo로 익스텐션을 개발하다 다른 애꿎은 Next.js 사이트를 못 쓰게 되는 현상이 있어서, 이를 해결하는 방법을 공유합니다.

컨테이너 환경에서 wrk로 벤치마크 테스트하기
더욱 혹독하게 API를 키우기 위해, wrk 이미지를 만들어 보았습니다.
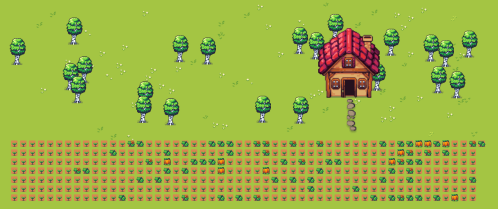
Git Garden 제작기 및 소개
GitHub 프로필을 꾸미기 위한 새로운 애플리케이션을 제작해 봤습니다
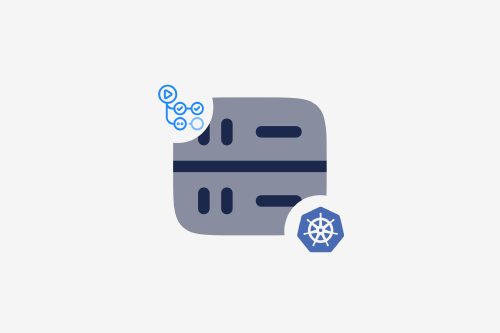
Kubernetes로 GitHub Actions 커스텀 러너 구축하기
GitHub Actions 커스텀 러너를 Kubernetes로 구축하는 방법을 알아봅니다.
2024 상반기 회고
벌써 2024년도 절반이 넘게 지나가 버렸습니다. 간만에 인생을 좀 돌아봐야겠다는 생각이 들어 회고를 작성해보았습니다.
홈랩에서 각종 태스크 자동화하기
250930 장애 대응
오랜만에 블로그에 작업 하자마자 큰 장애를 만들어버렸습니다
Plasmo 개발 환경에서 Next.js 앱 망가뜨리는 문제 해결하기
Plasmo로 익스텐션을 개발하다 다른 애꿎은 Next.js 사이트를 못 쓰게 되는 현상이 있어서, 이를 해결하는 방법을 공유합니다.
컨테이너 환경에서 wrk로 벤치마크 테스트하기
더욱 혹독하게 API를 키우기 위해, wrk 이미지를 만들어 보았습니다.
Git Garden 제작기 및 소개
GitHub 프로필을 꾸미기 위한 새로운 애플리케이션을 제작해 봤습니다
Kubernetes로 GitHub Actions 커스텀 러너 구축하기
GitHub Actions 커스텀 러너를 Kubernetes로 구축하는 방법을 알아봅니다.
Docker로 Rust 애플리케이션 배포하기
Docker를 활용해 Rust 애플리케이션을 효율적으로 배포하는 방법을 알아봅니다

GitHub Actions에서 Azure Blob Storage로 파일 배포하기
AZCOPY를 사용해 GitHub Actions에서 Azure Blob Storage로 파일을 배포하기
Visual regression test 도입기
BackstopJS와 Storybook을 활용한 시각적 회귀 테스트 시스템 구축하기
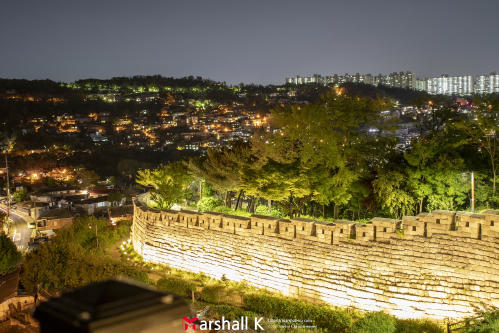
와룡공원 야경과 일출
야경 210502 성곽이 주는 분위기와 서울이라고는 믿기 힘든 풍경이 어우러져 꽤 아름다운 야경을 가진 곳입니다. 처음 보면 10분 정도를 넋 놓고 바라만 볼 정도로 아름다운데, 절반도 안 담긴 기분이라 여러모로 아쉽네요. 210613 산책 나왔다 달 뜬 모습 보고 허겁지겁 집으로 돌아가 카메라 챙겨 나와서 찍은 사진입니다.5분만 늦게 나왔어도 못 찍었을 사진이네요. 일출 210827 여기선 일출을
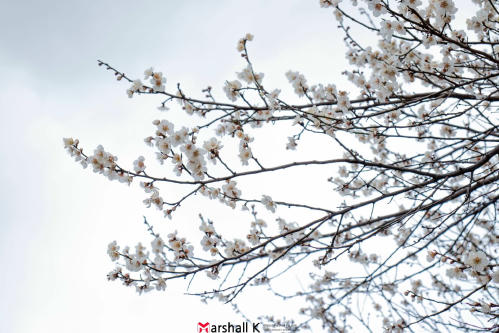
2021년의 봄
벌써 2021년도 봄을 맞았습니다.
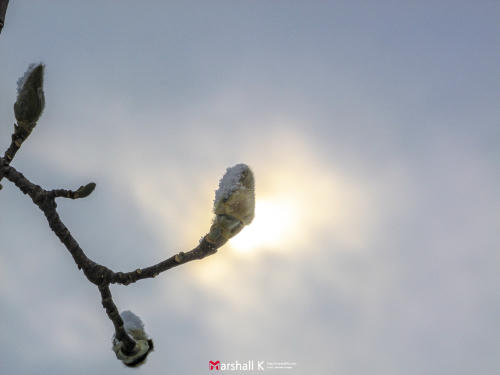
210118 눈
210118 다시 내린 눈

210112 악마의 똥가루
뭔가 잘못됐다 KTX를 타고 올라오는 중에 창밖이 점점 하얘지고 톡방은 눈이 뭐 이렇게 많이 오느냐고 시끄러워지기 시작하더라고요.결국 제시간에 KTX가 역에 들어오지도 못하고 도착부터 순탄치 않았습니다. 역에 도착하니 웬 기차 하나가 선로에서 혼자 눈을 맞으며 궁상을 떨고 있습니다. 집에 오면서 보니 나무나 화단엔 이런 장관이, 길바닥엔 거무튀튀하고 질퍽한 더러운 눈이 펼쳐져 가관인 상황이 펼쳐져 있더라고요. 아무튼
무작정 다녀온 강원도
한적한 곳으로 떠나고 싶어 무작정 강원도로 떠났습니다.ITX를 타고, 춘천 가는 기차 안에서 태연의 춘천 가는 기차를 듣고 싶었으나, 갑작스레 길을 나선 관계로 시간이 안 맞아 결국 지하철을 탔습니다.환승을 세 번씩이나 해 갈 수 있었습니다. 아직 집에 도착하지 않아서 서울에 있는 사촌 동생 컴퓨터로 RAW 보정을 진행해, 색감이 평소와 좀 다를 수 있습니다.모니터 색감이 많이 안
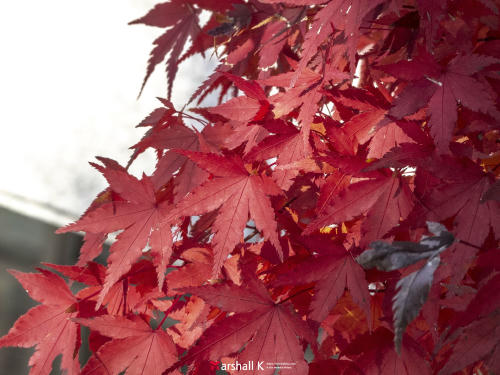
가을
대낮에에 찍은 사진이라 이문세 선생님의 "가을이 오면"을 넣을까 하다 공식 비디오가 없어 "가을 아침"으로 정했습니다.난생처음 BGM 깔아보며 글 시작하겠습니다. 구름 한 점 없이 맑은 하늘이 드높이 펼쳐져 있고, 날씨는 덥지도 춥지도 않은 더없이 좋은 날이라 일전에 한 아세안 특별정상회의 환영행사를 찍으러 갔던 국립해양박물관에 텐트를 들고 나가봤습니다. 구도가 좀 해양대학교 공식 사진처럼 찍혔는데, 푸른 바다 +

200928 민주공원
부산시에서 밀어주는 꽃인가 싶을 정도로 없는 곳이 없는 꽃입니다.공원부터 아파트 단지, 골목에 작은 화단까지 전부 꽃무릇이 있더라고요. 이런 사진 건지려고 반드시 사진을 RAW로 찍습니다.포토샵에서 RAW 프로파일 좀 건드리다 보면 사진이 확 살아날 때가 많더라고요.이 사진도 역광이 강해 거의 꽃이 안 보이는 수준이었는데, 프로파일 좀 건드려 살렸습니다. 날갯짓이며 움직임이며 무진장 빠르던 나비입니다.수동으로 초점 잡다 보니 잡으면
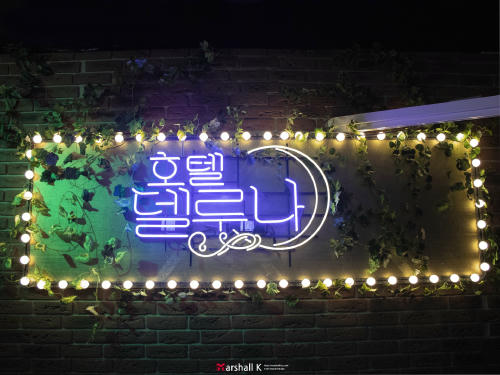
200708 호텔델루나 전시회
한 달 만에 다시 가서 사진 왕창 찍고 돌아왔습니다.
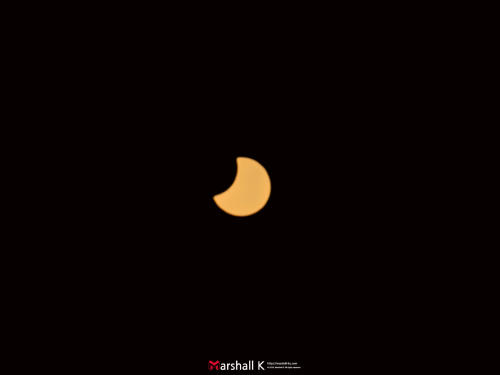
일식 촬영
오늘 (2020.06.21) 부분일식이 있었습니다.집에서 촬영해봤는데, 제 카메라는 태양을 담아낼 만한 그릇이 안 되기에 한 손으로 카메라를 들고 다른 한 손으로 렌즈 앞에 선글라스 2개를 들고 찍었습니다. 원본 사진입니다. 선글라스 때문에 해가 분신술을 배웠습니다.하지만 RAW로 찍었기에 아직 희망은 있습니다. 노출을 낮추고, 대비를 늘리고, 밝은 영역을 낮춰 해의 경계를 뚜렷하게 만들고, 분신을 제거했습니다.위 작업을 거치면 해가 많이
2025 회고 및 서버 업데이트
어느덧 2025년도 다 지나가버렸습니다. 지난 1년을 돌아보며 간만에 글을 써 봅니다.
I use arch, btw
요즘 Arch Linux에 빠져 살고 있습니다
2024 상반기 회고
벌써 2024년도 절반이 넘게 지나가 버렸습니다. 간만에 인생을 좀 돌아봐야겠다는 생각이 들어 회고를 작성해보았습니다.
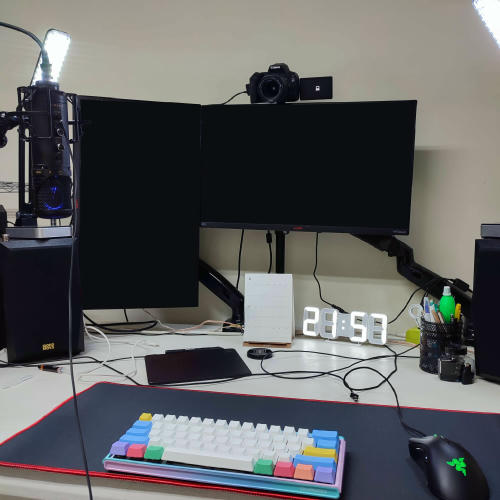
간만에 한 장비 업데이트
약 3개월 정도에 걸쳐 조금씩 장비들을 구매했고, 이제 얼추 끝난 것 같아 정리하기 위해 글을 작성해봅니다. 제일 먼저 사진엔 없지만, 본체에선 CPU와 램이 바뀌었습니다.4년 전에 맞춘 1700에서 5600x로 시간을 달려왔습니다.1700 사고 얼마 안 돼서 2000번대 발표돼서 가슴 아파하던 게 벌써 4년이나 됐네요.바이오스 업데이트하다 보드 날려 먹어서 메인보드도 MSI b550m 박격포로 바꿨습니다. 쿨러는 Thermalright Assassin X
클린 코드 스터디, SSG 막코딩
클린 코드 스터디 독자가 개발자와 컴퓨터라는 점을 제외하면 개발자도 작가와 꽤 비슷하지 않나 싶습니다. 표현하고자 하는 대상의 이름을 정확히 알고, 같은 표현을 여러 방식으로 할 줄 알아야 한단 점 등으로 미루어봤을 때요.글을 쓰고 퇴고하듯 매번 더 좋은 코드를 작성하기 위해 나름대로 노력해왔으나, 오픈 소스 코드를 여러개 까보며 보는 눈을 높여가고, 팀 프로젝트에서 남이 짠 코드를
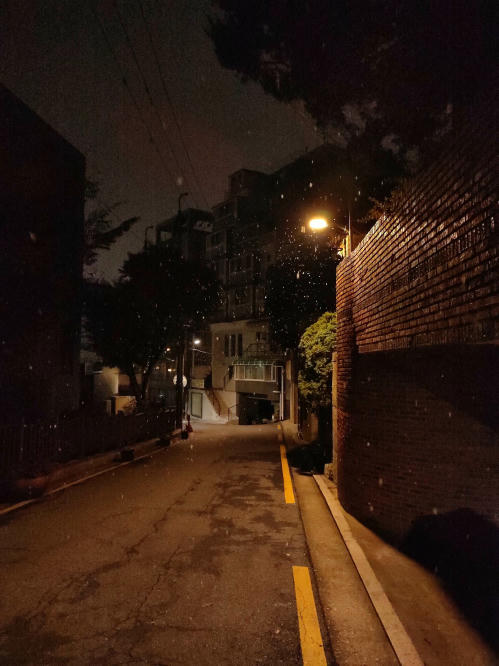
2021 첫눈, 그리고 근황 잡담
카테고리에 맞게 잡담으로 글을 시작해보자면, 무려 6개월 만에 이 카테고리에 글을 발행해봅니다. 첫눈 오늘 눈이 유난히 일찍 떠져서 더 자보려 노력하다 그냥 작업실로 길을 나섰는데, 첫눈이 내리는 걸 보게 되었네요.첫눈 내리는 걸 보려고 일찍 일어나졌나 봅니다. 첫눈이 내리고 보니 벌써 다음 주면 수능이고, 2021년을 보내줘야 할 때가 코앞까지 다가왔단 게 실감 나네요.해 바뀌는 걸 크게
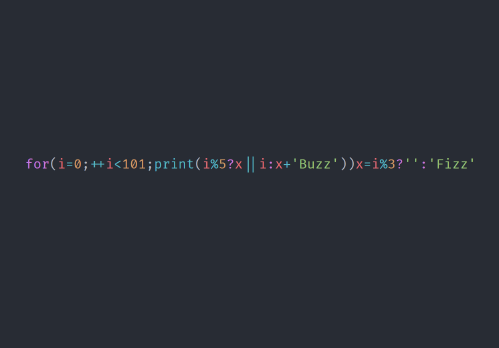
FizzBuzz 정복하기
FizzBuzz 369랑 살짝 비슷한 게임입니다. 위키피디아엔 애기들 교육용 놀이라는데, 구글에 검색하면 관련 내용은 거의 온데간데없는 수준이고 코드만 난무합니다. 룰은 간단합니다. 1부터 시작해 3의 배수엔 Fizz를, 5의 배수엔 Buzz를 얘기하면 됩니다. 3과 5의 공배수인 15의 배수엔 FizzBuzz를 외쳐야 합니다. 그냥 풀어만 보고 넘어간 문제였는데, 어쩌다 알게 된 코드 골프(최대한 짧은 코드로 결과를 구현하는 것) 사이트에 있길래
개발용 맥북 구매!
솔직히 맥북을 살 가격이면 게이밍 랩탑이 가능하기에, 게이밍 랩탑에 우분투를 깔아서 쓸지 맥을 쓸지 한참 고민하다, 애플의 폐쇄성 때문에 결국 맥북을 샀습니다.애널리틱스에서 확인해보면 브라우저 점유율도 사파리가 2위라…렌더링 엔진이 개판인지 CSS가 이상하게 깨지는 게 많아 확인을 안 하면 안 되겠더라고요. 로고에 불 나오는 마지막 버전인 2015 버전에 16GB 램을 사용한 모델입니다.중고가가 100만 원이 넘어가는 랩탑에 쿼드코어
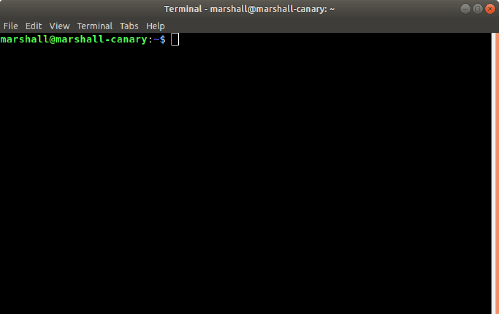
우분투 터미널에 배경 추가하기
GNOME 터미널에서도 배경을 투명색으로 바꿔 배경화면을 보면서 작업할 순 있지만, 캡쳐도 불가능하고 여러 창을 띄우면 배경이 제대로 보이지도 않습니다.Xfce Terminal을 이용하면 배경색, 폰트 등 다양한 커스터마이징이 가능합니다. 새로운 프로그램 추가하시기 전에 업데이트 한 번 해주시고 위 명령어를 입력하시면 Xfce4 Terminal이 다운로드됩니다. 성공적으로 설치가 완료되면 두 개의 터미널이 보일 겁니다. 첫 번째 아이콘을 클릭하면 설정 창이